Easy Homemade Chicken Catloaf Recipe for Healthy Adult Cats
The first time I tried making a homemade cat food recipe, I stood in my kitchen holding a raw chicken thigh and a very confused expression. Cook it? Don’t cook it? How much? What if I get it wrong?

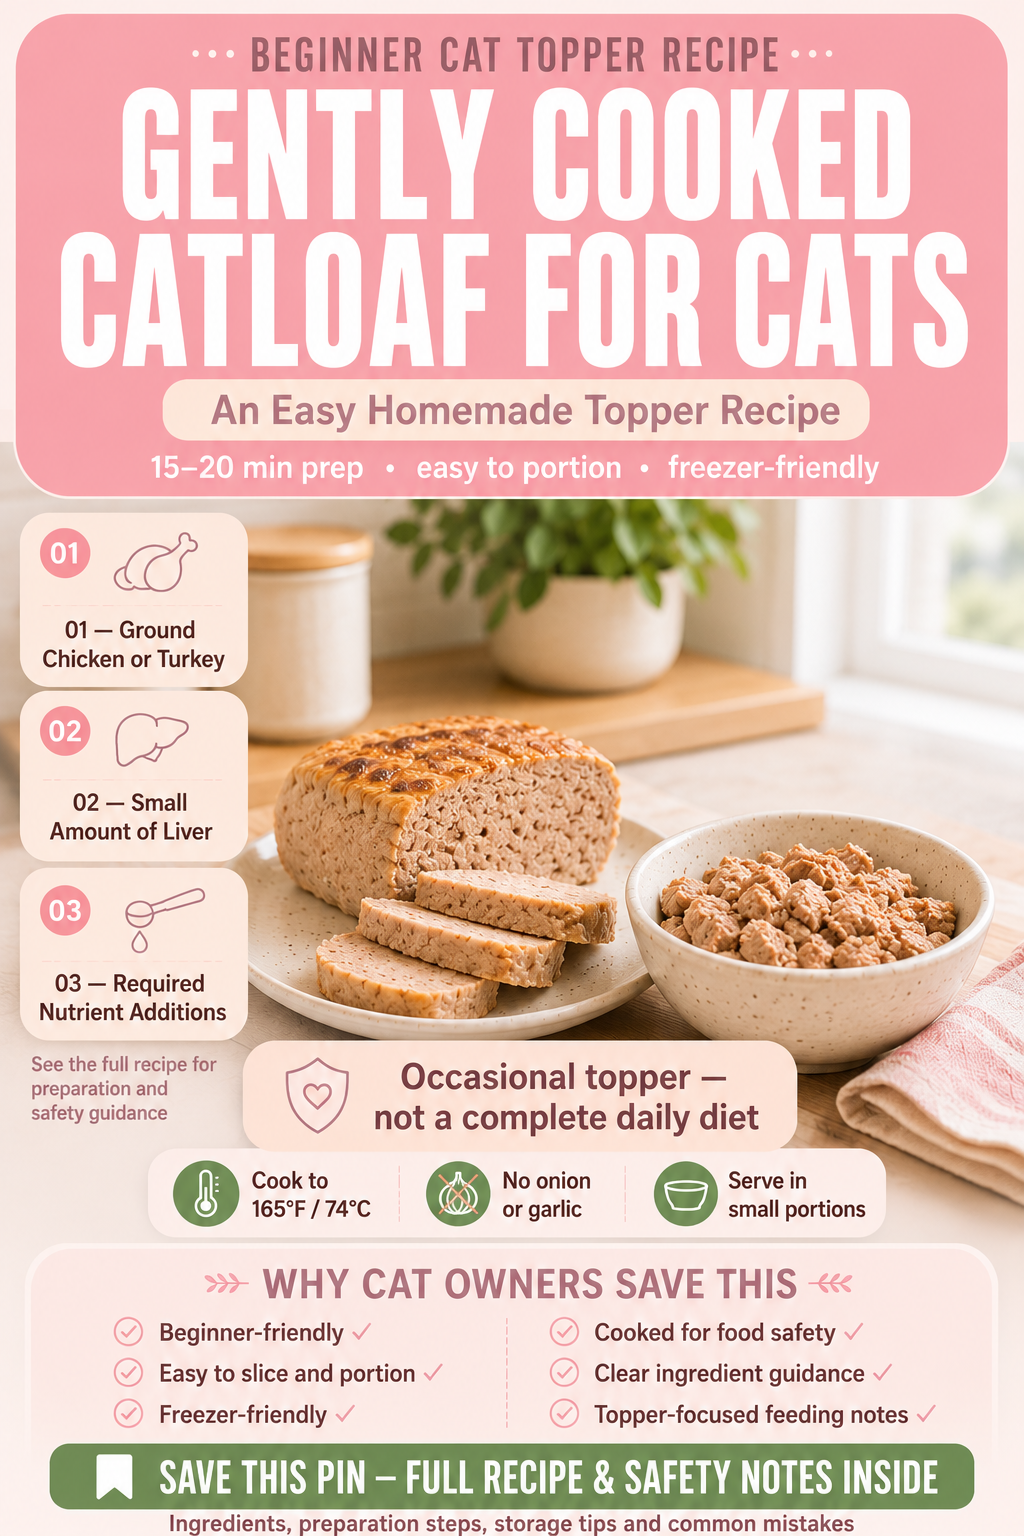
If you’ve landed here because you’re curious about “gently cooked” cat food—meals that are cooked just enough to be safe, without blasting away all the nutrients raw feeders love—you’re asking exactly the right questions. Homemade cat food recipes with chicken—catloaf—are one of the simplest ways to try this style of feeding: a soft, sliceable, protein-rich loaf your cat can enjoy as a topper, a treat, or part of a vet-guided homemade diet.
This guide walks through a gently cooked catloaf recipe from start to finish, but it also does something a lot of recipe pages skip: it explains why each ingredient and step matters, gives you real quantities to work with, and tells you honestly where the limits of a homemade recipe are.
Cats are obligate carnivores, meaning they rely on animal-based proteins and nutrients that cannot be adequately supplied by plant ingredients alone. That’s why homemade recipes should always prioritize high-quality animal proteins and balanced nutrition.
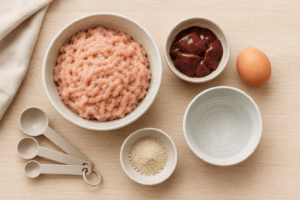
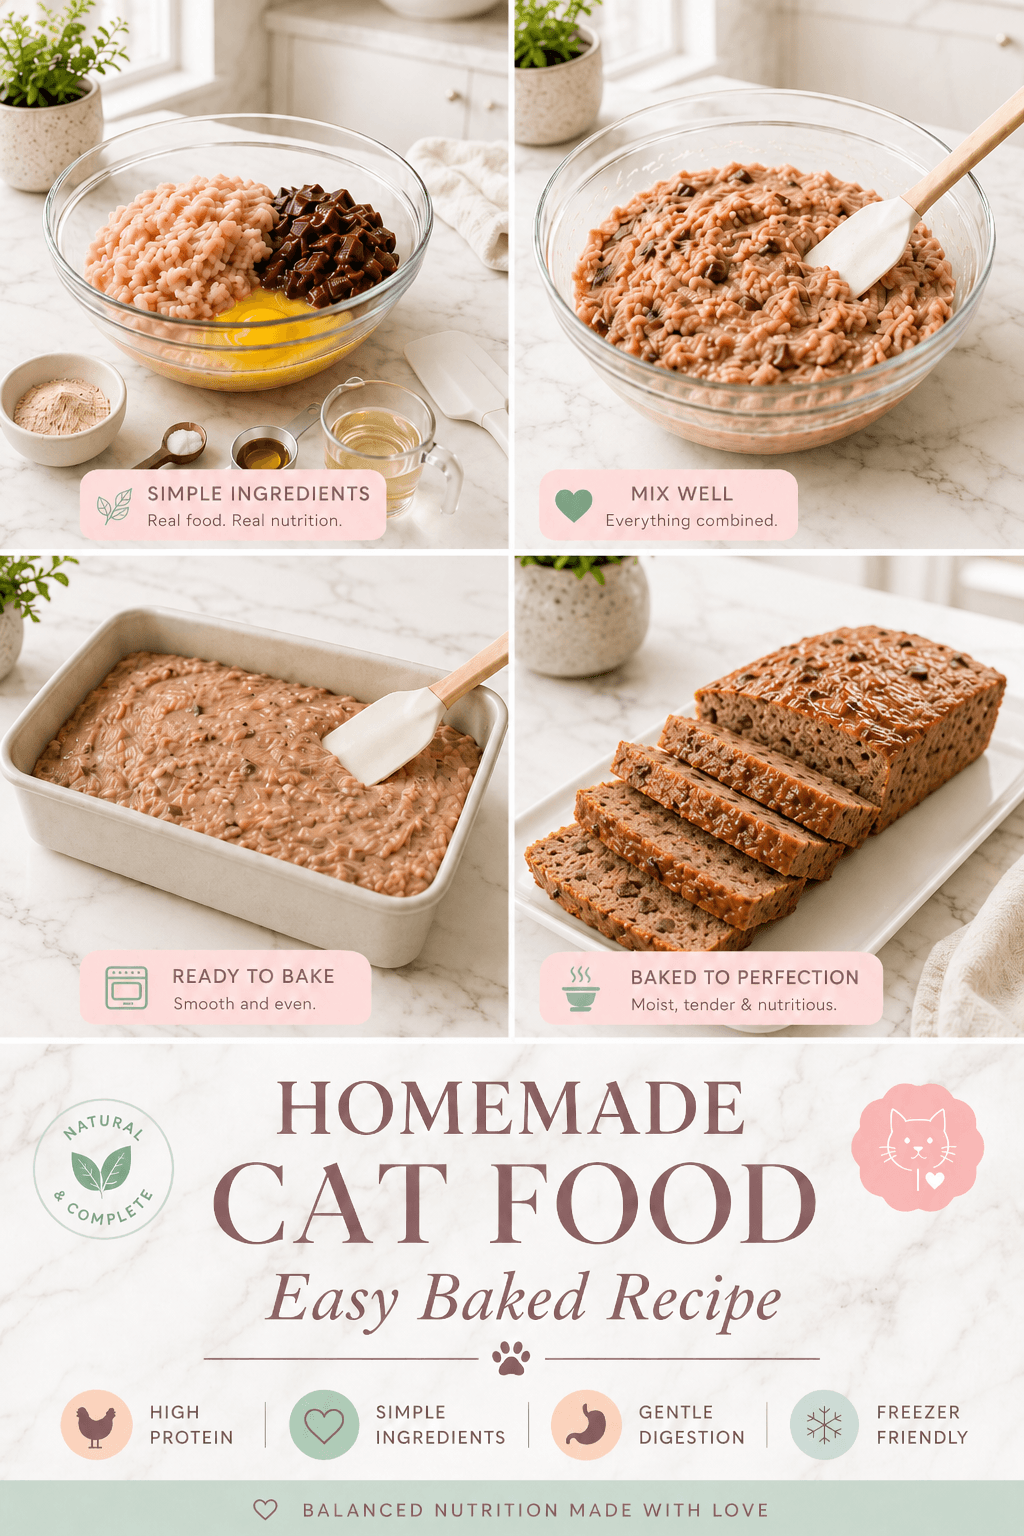
Homemade Chicken Cat Food Recipe: Easy Chicken Catloaf
Ingredients
Equipment
Method
- Preheat the oven to 325°F (163°C). Lightly prepare a small loaf pan using your normal food-safe nonstick method, if needed.
- Place the ground chicken thighs, finely chopped chicken liver and beaten egg in a clean mixing bowl. Mix until the liver and egg are evenly distributed throughout the chicken.
- Add the cat-specific taurine supplement, calcium source and fish oil in the amounts stated on their product labels or recommended by your veterinarian. Mix thoroughly so the supplements are distributed evenly throughout the mixture.
- Add 1/4 cup of water or plain unsalted broth and mix. Add more gradually, up to approximately 1/3 cup total, only if needed. The mixture should be moist and cohesive like thick meatloaf mixture, not watery.
- Transfer the mixture to the small loaf pan. Press it in gently and smooth the surface, avoiding large air pockets.
- Bake for approximately 25–35 minutes. Beginning near the lower end of the cooking range, check the center with an instant-read food thermometer. The catloaf is finished only when the thickest part reaches 165°F (74°C).
- Remove the loaf from the oven and allow it to cool completely before removing it from the pan, slicing it or offering any to your cat.
- Cut the cooled catloaf into approximately 8–10 slices, depending on the loaf-pan size and desired slice thickness. Refrigerate or freeze the portions promptly.
Notes
Helpful tool: an instant-read thermometer
Because loaf thickness and oven performance vary, cooking time alone cannot confirm that the center is safe. An instant-read thermometer makes it easier to check that the thickest part has reached 165°F (74°C).
[See the ThermoPro TP19H on Amazon.]
[View the Escali Primo Kitchen Scale on Amazon]
New to homemade cat food? Read our complete First-Time Cat Owner’s Guide to Obligate Carnivore Nutrition to understand what cats really need before preparing homemade meals.
Important Safety Note
This recipe, like most homemade cat food you’ll find online, is not automatically a complete and balanced diet. Cats have very specific nutritional needs—including nutrients like taurine that are reduced by cooking—and getting those needs wrong isn’t something you’ll notice right away. A 2019 UC Davis study published in the Journal of the American Veterinary Medical Association reviewed 114 published homemade cat food recipes and found that none of them met all of a cat’s essential nutrient requirements—including recipes written by veterinarians.
That doesn’t mean homemade food is bad. It means it needs a specific safeguard: use this as a treat, topper, or occasional supplemental meal, not your cat’s main diet, unless a veterinarian or board-certified veterinary nutritionist recommends it—including a recipe and quantities for nutritional completeness (you can find one through the American College of Veterinary Nutrition or ask your regular vet for a referral). This is especially important if your cat is a kitten, senior, pregnant, or managing a health condition.
This article does not diagnose or treat any medical condition, and it isn’t a substitute for a conversation with your vet about your specific cat’s needs.
Equipment Needed
- Mixing bowl
- Small loaf pan (a mini loaf pan works well for portioning)
Pan option for smaller batches [See USA Pan Mini Loaf Pans on Amazon]
- Instant-read food thermometer (not optional — this is how you confirm the loaf is safe to serve)
- Cutting board and knife (for slicing after cooling)
- Airtight storage containers or freezer bags
Common mistakes during preparation:
- Skipping the thermometer check and guessing doneness by eye
- Adding seasoning, salt, or broth that contains onion or garlic
- Using more liver than the recipe calls for
- Forgetting the taurine and calcium additions entirely
Alternative Preparation Methods
Slow cooker: Cook the same mixture in a loaf-shaped silicone insert on low for about 3–4 hours, checking internal temperature the same way. This is a genuinely gentler method with less risk of a dry exterior.
Steaming: Portion the mixture into small patties and steam them (still checking to 165°F)—an easier option for small batches.
Freezing for later: Freeze the raw, unbaked mixture in portioned patties and cook them fresh as needed, rather than baking the whole loaf at once.
Air frying isn’t recommended here — the high, direct heat is harder to control evenly across a dense loaf shape and increases the risk of an overcooked exterior with an undercooked center.
Quick Answer
A gently cooked catloaf is a homemade cat food made by lightly cooking ground meat (usually chicken or turkey) with a few cat-safe binders and supplements, then baking it into a firm, sliceable loaf. Cooking to a safe internal temperature reduces the risk of bacterial contamination compared to raw feeding while staying gentler than high-heat roasting. It works best as a treat or food topper rather than a full daily diet, unless a vet or veterinary nutritionist has confirmed the recipe meets your cat’s complete nutritional needs.
Why You’ll Love These Homemade cat food Recipes with chicken
- It’s genuinely simple. No fancy equipment, no obscure ingredients—just a mixing bowl, a loaf pan, and your oven.
- It’s easy to portion. Once it’s baked and cooled, you slice it like a pâté loaf, so measuring out consistent servings is easy.
- It stores and freezes well, so one batch can last a couple of weeks if you portion and freeze it.
- It’s a gentler cooking method than boiling meat to mush or deep-frying (please don’t), which helps the finished texture stay appealing to picky cats.
- You control every ingredient, which matters if your cat has a known sensitivity to something in commercial food.
Ingredient Breakdown
Ground chicken thighs (or turkey)
Why it’s included: Cats are obligate carnivores—meat isn’t just their preference; it’s a biological requirement for nutrients like taurine and highly bioavailable protein (protein their bodies can easily absorb and put to use). Thigh meat has a bit more fat than breast meat, which most cats find more palatable. Safety considerations: Always use plain, unseasoned meat. No garlic, onion, or pre-made seasoning blends—even small amounts of onion or garlic, including powdered forms, are toxic to cats. Optional substitutions: Turkey thigh works well in place of chicken. Never substitute with raw pork, processed deli meats, or anything cured or seasoned (like bacon or sausage)—the salt and preservatives aren’t appropriate for cats.
Chicken liver (small amount)
Why it’s included: Organ meat is a natural source of vitamin A, iron, and other nutrients pure muscle meat doesn’t provide as richly. Safety considerations: This is a genuine “less is more” ingredient. Too much liver, fed over time, can lead to vitamin A toxicity—which is why it stays capped at roughly 10% of the recipe here, not the main ingredient. Never substitute with a larger quantity of any organ meat in place of muscle meat.
Egg
Why it’s included: Eggs are a highly digestible protein source and add extra nutrients to the mix. Safety considerations: Always cook the egg fully into the recipe—raw eggs carry a small salmonella risk, and raw egg whites contain a compound that can inhibit biotin absorption over time. Cooking eliminates both concerns.
Taurine supplement (cat-specific)
Why it’s included: This is the most important ingredient in the whole recipe, and it’s the one most home-cook recipes skip. Taurine is an amino acid cats can’t make in sufficient quantities on their own, and cooking meat reduces its natural taurine content. A deficiency doesn’t cause obvious symptoms right away — it can take months to years to show up as serious heart or eye damage. Safety considerations: Use a taurine supplement made specifically for cats, dosed per the product’s instructions. Never substitute by skipping it because “meat has taurine anyway.” Cooked meat has meaningfully less iron than raw meat, which is exactly why cooked recipes need supplementation.
Fish oil
Why it’s included: Provides omega-3 fatty acids, which support skin and coat health. Optional substitutions: A vet-recommended cat omega-3 supplement works the same way.
Calcium source (eggshell powder or vet-approved supplement)
Why it’s included: Muscle meat alone is very low in calcium, and cats need a calcium source to balance skipping phosphorus, which is naturally found in meat. Safety considerations: Don’t skip this. A diet that’s mostly muscle meat with no calcium source, fed long-life iron, can cause real problems. If you’re unsure how to source or dose this, ask your vet.
Water or unsalted, plain broth
Why it’s included: Helps bind the mixture and keeps the finished loaf moist rather than dry and crumbly. Safety considerations: Only use broth with no onion, garlic, or added salt — many store-bought broths contain both.
Nutrition Overview
This recipe is protein-forward, built primarily around muscle meat with a small amount of organ meat—appropriate for cats as obligate carnivores. It contains a moderate amount of fat, mostly from the thigh meat and added fish oil, which supports palatability and energy. Moisture content is relatively high compared to dry kibble, which can help cats who don’t drink much water on their own. Fiber content is minimal, since this recipe doesn’t include significant plant matter.
We’re not providing exact calorie or macronutrient numbers because those genuinely shift based on the specific cuts of meat and supplement brands you use—an estimate presented as precise would be misleading. If you want exact values for your specific batch, a veterinary nutritionist can calculate this, or you can use a recipe-analysis tool designed for pet food formulation.
Feeding Guidelines
How much of this loaf is appropriate depends on your cat’s age, current weight, activity level, and any health conditions. As a rough starting point for a topper or treat, about 1 tablespoon per 5 lbs of body weight, mixed into your cat’s regular meal, is a reasonable amount to introduce—a 10 lb cat might get around 2 tablespoons, for example. This is a general starting point, not a calculated ration, and it isn’t a substitute for your vet helping you figure out the right amount for your specific cat, especially if it becomes a regular part of their diet.
How Much Homemade Cat Food Should You Feed?
Portion size depends on much more than your cat’s appetite. Factors like body weight, age, activity level, body condition, and whether your cat needs to lose or gain weight all affect daily calorie needs.
Instead of guessing, calculate your cat’s ideal daily calorie requirement first, then adjust the amount of homemade food accordingly.
Storage and Freezing
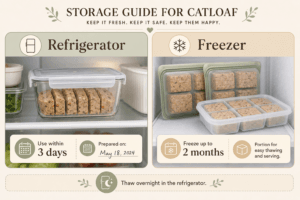
Refrigerator storage: Keep the sliced loaf in an airtight container for up to 3 days.
Freezer storage: Individually wrap slices or portion them into a freezer-safe container for up to 2 months.
Safe thawing: Thaw frozen portions in the refrigerator overnight rather than at room temperature, which reduces the time bacteria have to grow.
Reheating: If your cat prefers it warm, gently warm a portion for a few seconds—food fed at close to room temperature or slightly warm is often more appealing to cats than cold-from-the-fridge food, since it’s closer to the temperature of freshly caught prey.
Meal prep tip: Bake one larger batch on a weekend and portion it into daily or every-other-day servings right away, so you’re not slicing a cold, firm loaf every single day.
Common Mistakes to Avoid
Skipping the taurine supplement. This is the single most common — and most consequential — mistake in homemade cooked cat food. Because deficiency symptoms take a long time to appear, it’s easy to assume everything is fine when it isn’t.
Using seasoned or flavored broth. Many broths marketed for human cooking contain onion or garlic powder, which is toxic to cats even in small amounts.
Adding more liver than the recipe calls for. More organ meat isn’t automatically healthier — too much liver can lead to vitamin A toxicity over time.
Not checking internal temperature. Guessing doneness by time alone doesn’t account for variations in oven performance or loaf thickness.
Feeding this as a complete daily diet without professional input. As the UC Davis research found, even well-intentioned recipes often fall short of a cat’s full nutritional needs.
Expert Tips
- Texture matters more than you’d think. Some cats prefer a smoother, more pâté-like texture, while others like more visible chunks of meat. If your cat turns up their nose at the first batch, try pulsing the mixture in a food processor before baking for a smoother result. Optional texture tool [View the Cuisinart Mini-Prep Plus on Amazon]
- Warm it slightly before serving, especially straight from the fridge — many cats respond better to food that’s closer to body temperature.
- Transition slowly. If your cat has only ever eaten commercial food, introduce this gradually alongside their regular food over 7–10 days rather than switching all at once to reduce the chance of digestive upset.
- Batch and label. Freeze portions in clearly labeled containers with the date, so you’re not guessing how long something has been in the freezer.
- Keep a simple feeding log for the first few weeks, noting your cat’s appetite, stool quality, and energy level—this makes it easier to flag anything worth mentioning to your vet early.
Frequently Asked Questions
Is gently cooked cat food better than raw?
Cooking reduces the risk of bacterial contamination (like Salmonella and E. coli) compared to raw feeding, which is why many vets who are open to homemade diets still recommend cooking over raw. Cooking also reduces some nutrients, like taurine, which is why supplementation matters for cooked recipes.
Can I feed this cat food every day?
Only if the recipe and quantities have been reviewed and confirmed to meet your cat’s full nutritional needs, ideally by a vet or veterinary nutritionist. As written here, it’s best used as a treat, topper, or occasional meal.
Why does my cat’s homemade food need taurine if it already has meat in it?
Raw meat contains taurine, but cooking reduces the amount that remains. That’s specifically why cooked homemade recipes need a taurine supplement even though raw meat is technically a taurine source.
How Much Homemade Cat Food Should I Feed?
Every cat has different calorie requirements based on weight, age, body condition, and activity level. Before changing your cat’s diet, calculate how many calories they need each day.
👉 Try our Cat Calorie Calculator for a personalized estimate.
Can kittens eat this recipe?
Kittens have different, more concentrated nutritional needs than adult cats, and this recipe isn’t formulated with kitten-specific requirements in mind. Check with your vet before feeding any homemade recipe to a kitten.
How do I know if my cat is getting enough nutrients from homemade food?
You generally can’t tell from behavior alone, since deficiencies can take months or longer to show visible signs. Regular veterinary checkups, including bloodwork, are the most reliable way to monitor this if homemade food makes up a significant part of your cat’s diet.
Is it safe to add vegetables to this recipe?
Small amounts of certain cooked vegetables, like plain cooked pumpkin, are generally considered safe for cats, though cats don’t need them the way dogs might. Avoid onions, garlic, leeks, and chives entirely—these are toxic.
What if my cat won’t eat it?
Some cats are simply cautious about new foods. Try warming it slightly, offering a small amount alongside their regular food rather than a full swap, and giving it a few tries over separate days before deciding it’s a no.
Can I use ground beef instead of chicken?
Yes, most lean ground meats can work in a similar recipe structure, though the exact fat and nutrient content will vary slightly by protein source.
How long can this loaf sit out at room temperature?
Don’t leave it out more than about an hour, especially in a warm room for it—treat it the way you’d treat any perishable cream or treat.
Is Homemade Cat Food Complete?
Homemade cat food can be rewarding, but creating a nutritionally complete diet requires careful planning. If you’re just starting out, our First-Time Cat Owner’s Guide to Obligate Carnivore Nutrition explains essential nutrients, protein requirements, and common mistakes to avoid.
Do I need a vet’s approval before trying this even once?
For an occasional treat or topper in small amounts, most healthy adult cats will be fine. If your cat has an existing health condition, is a kitten, or you plan to feed this regularly, check in with your vet first.
Key Takeaways
- A gently cooked catloaf is a simple, beginner-friendly way to try homemade cat food without needing raw-feeding equipment or expertise.
- Real quantities matter: roughly 1 lb ground meat to 2 oz liver keeps the liver ratio safe, and cooked meat needs a cat-specific taurine supplement to make up for what cooking removes.
- Always cook to an internal temperature of 165°F (74°C), confirmed with a food thermometer, not guessed by eye.
- Never include onion, garlic, or seasoned broths—these are toxic to cats.
- Use this recipe as a treat, topper, or supplemental food, not a full replacement for your cat’s diet, unless a vet or veterinary nutritionist has reviewed it for nutritional completeness.
- Store in the fridge up to 3 days, or freeze portions for up to 2 months.
Conclusion
Making food for your cat at home can feel like a meaningful way to show up for them, and it can be, with a little care and the right information. A gently cooked catloaf is a genuinely approachable starting point: familiar ingredients, real quantities, and a result your cat can enjoy as part of a thoughtful feeding routine.
Cook it safely, follow the amounts above rather than guessing, and keep your vet in the loop if this becomes a regular part of your cat’s diet rather than an occasional treat. Do that, and you’ve got a lovely little addition to your cat’s routine.
We hope our homemade cat food recipes with chicken, the catloaf recipe, help you prepare a safe homemade topper your cat enjoys.
Continue Learning
If you’re planning to feed homemade meals regularly, these resources can help:
- 🐱 Cat Calorie Calculator — Estimate your cat’s daily calorie needs before choosing portion sizes.
- 🍗 First-Time Cat Owner’s Guide to Obligate Carnivore Nutrition — Learn why cats require meat-based nutrition and which nutrients are essential for long-term health.
- For more recipes, check out our Easy 3-Ingredient Cat Food Topper (Ready in 15 Minutes)
References
- UC Davis School of Veterinary Medicine — Homemade Cat Food Diets Could Be Risky
- PetMD — Homemade Cat Food: Should You Make Your Own Cat Food?
- VCA Animal Hospitals — general feline nutrition resources
- American College of Veterinary Nutrition (ACVN) — acvn.org
- FDA guidance on safe internal cooking temperatures for meat and poultry